
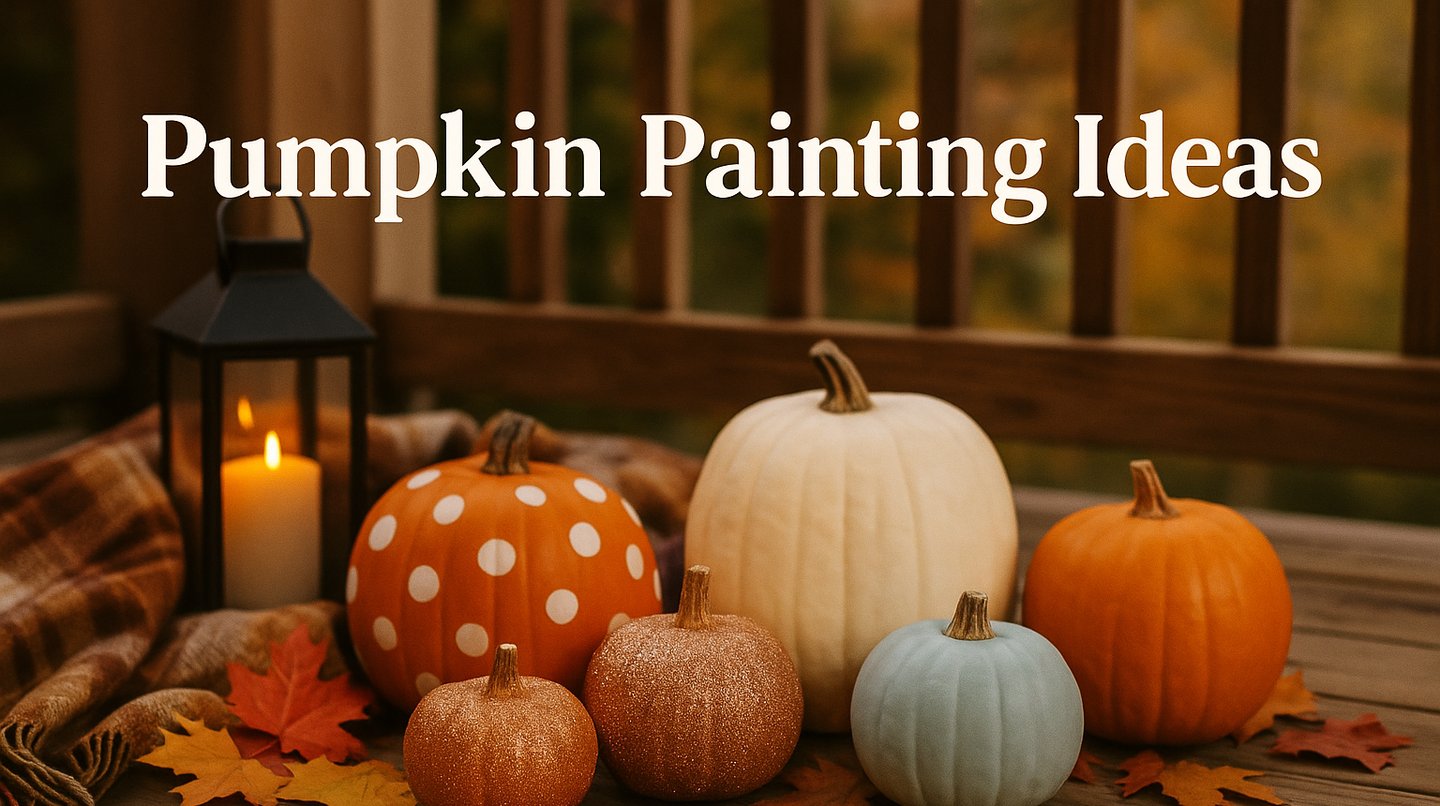
Painting Pumpkin Ideas: Fun and Easy No‑Carve Designs for the Whole Family
CRAFTSSPECIAL OCCASIONS
The Soul Blogger
9/22/202513 min read
This website contains affiliate links. Some products are gifted by the brand to test. As an Amazon Associate, I earn from qualifying purchases. The content on this website was created with the help of AI.
Painting Pumpkin Ideas: Fun and Easy No‑Carve Designs for the Whole Family
Painting pumpkins is a festive, mess-free alternative to carving – perfect for families with young kids or anyone who’s not keen on scooping guts and wielding sharp. Unlike jack-o’-lanterns that quickly rot, painted pumpkins tend to last longer and can brighten your fall décor all the way through. In this guide, we’ll explore a bunch of creative painting pumpkin ideas – focusing on traditional real pumpkins (with a nod to faux ones) – along with tips to get you started. Grab your brushes and let’s make some no-carve pumpkin magic!


Hi! I’m Barbora, the voice and heart behind The Soul Blogger. I’m a creative spirit who finds joy in home projects, cozy spaces, soulful travel, and simple-yet-beautiful living. I started this blog as a personal outlet—a place to share my inspirations, explore fresh ideas, and connect with others who value both beauty and meaning in everyday life.
I live surrounded by the rhythms of family life and find peace in moments of creativity, whether I’m crafting a DIY project, styling a comforting corner of my home, or discovering a hidden café in a far-off city. Travel—especially journeys that blend culture, food, and stunning scenery—fuels my sense of wonder and storytelling.
This blog reflects my world—warm, intentional, and full of heart. Whether you’re here for a new recipe, a mindful lifestyle tip, or inspiration for your next adventure, I hope you leave feeling inspired to create a life that feels like home to you.
Getting Started: Real vs. Faux Pumpkins
Before you paint, decide on your canvas: real pumpkin or artificial (foam). Both work great for painting:
Real Pumpkins (Traditional): They’re affordable and bring that authentic fall vibe (like a fun trip to the pumpkin patch!). Painted real pumpkins last longer than carved ones, though eventually they’ll rot after the season. Enjoy them for a few weeks, then compost or discard. Bonus – no knife needed, so it’s safer for kids!
Faux Pumpkins: Craft store pumpkins (foam or plastic) can be reused every year. Paint them once and enjoy again next fall – no mushy mess. They often have smooth surfaces that are easy to paint, but note you can’t carve them. It’s worth painting one or two faux pumpkins if you want favorite designs to keep long-term.
Tip: If you plan to display outdoors, especially with real pumpkins, seal your paint job with a coat of clear sealant or Mod Podge once dry. This helps preserve the color and protects against weather.
Supplies and Prep Work
You don’t need fancy tools – part of the fun of pumpkin painting is how simple it can be. Here are the basics to gather:
Paints: Acrylic craft paints work beautifully on pumpkins and come in every color (they’re inexpensive and quick-drying). Chalk paint is another favorite for a matte, velvety look. If kids are involved, washable tempera paints are okay for short-term designs (just note they can scratch off more easily). Avoid watercolors – they won’t adhere well to a pumpkin’s slick surface without a base coat.
Brushes & Tools: A set of assorted paintbrushes (large ones for covering the whole pumpkin and tiny ones for details) and foam brushes or sponges for dabbed effects. Paint pens or markers are fantastic for drawing details or lettering (great for beginners or kids who find brushes tricky). Have a cup of water and paper towels for rinsing and mistakes.
Optional Fun: Painter’s tape (for making stripes or geometric patterns), stencils (for perfect shapes or letters), googly eyes, glitter, sequins – feel free to raid the craft drawer! Also grab some non-paint items like glue if adding embellishments (e.g. sticking on sequins or pom-poms).
These products worked very well for me and my kids:
Mod Podge Sealant or Clear Spray Sealer
Prep Your Pumpkin: Whether real or fake, make sure the surface is clean and dry. For a real pumpkin, wipe off dirt with a damp cloth and let it dry completely. You can even give it a quick wash with mild soapy water if it’s muddy (just dry it well afterward). A clean, dry pumpkin helps paint stick better. Lay down newspaper or a plastic tablecloth to protect your table – while painting is far less messy than carving, kids will splatter paint when excited!
Prime (Optional): You can paint directly on an orange pumpkin, but if you want colors to pop, consider painting a quick base coat of white or a neutral color first. This is especially helpful on faux pumpkins or if using light colors on a very orange pumpkin. Spray primer or a coat of white acrylic can really make pastels and neons more vibrant.


Simple and Cute Pumpkin Painting Ideas
No need to be an art expert – these ideas are fun, easy, and beginner-friendly (many are kid-approved!). Feel free to mix and match concepts to make your own unique pumpkins.
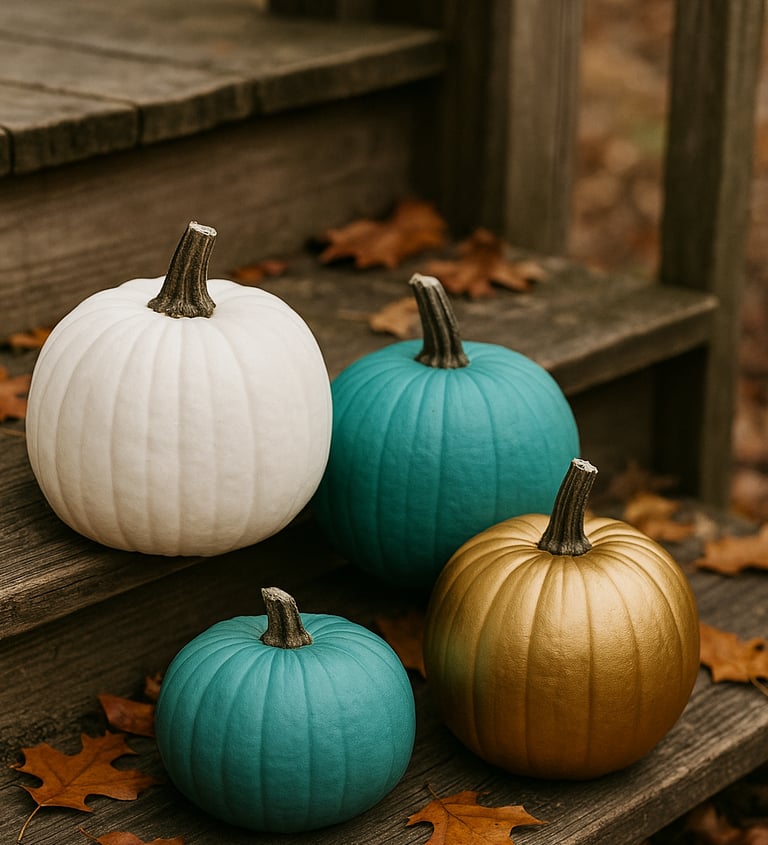
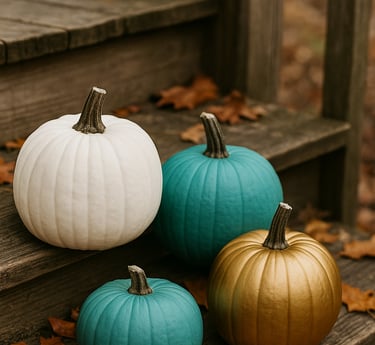
1. Solid Color Pop
Sometimes the simplest idea packs the biggest punch. Painting a pumpkin a single bold color can look surprisingly chic. Pick a color that matches your porch or interior vibe: white for a modern farmhouse look, black for chic Halloween, or bright teal or purple for a fun twist. Solid-color pumpkins look great grouped in multiples – imagine a cluster of all-white and all-gold pumpkins as a centerpiece! For best results, use a couple of thin coats of acrylic or chalk paint for even coverage (and paint the stems a contrasting color or wrap them in ribbon). Solid painted pumpkins are like the little black dress of fall décor – simple, classy, and versatile. (Psst, a teal pumpkin is also a symbol of the Teal Pumpkin Project, meaning you have non-food treats for allergy kids on Halloween – a great inclusive touch for families.)
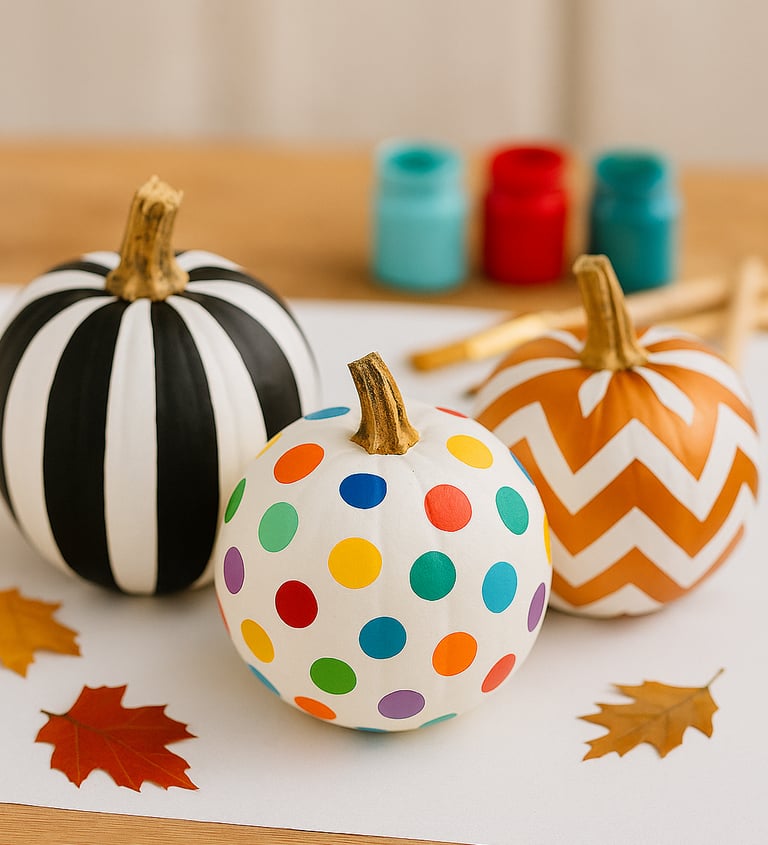
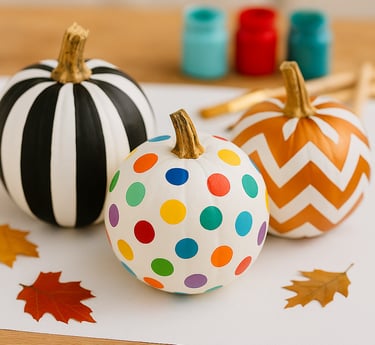
2. Polka Dots, Stripes & Patterns
Unleash some pattern play! Polka dot pumpkins are adorable and super easy for DIY beginners. You can use the handle end of a brush or a sponge to dab on dots. They can be random multicolor confetti dots or evenly spaced for a neat look. Kids love polka dots, and if you use glow-in-the-dark paint for the dots, the pumpkin will glow at night – so cool!
For a stylish twist, try striped pumpkins. Use painter’s tape to mark off stripes around the pumpkin’s ribs. Vertical stripes can even make a round pumpkin look taller, while horizontal stripes give a fun, playful feel. Classic black-and-white stripes yield a Tim Burton vibe, or use rainbow colors for a whimsical touch. Tip: paint the whole pumpkin your base color first (e.g. white), let it dry, then tape lines and paint a second color for crisp stripes. Remove the tape carefully while paint is slightly wet for best results.
Other easy patterns to try: chevron zigzags, plaid (use thin tape or a steady hand to crisscross lines), or animal prints (leopard spots or tiger stripes using black on an orange pumpkin). Don’t worry about perfection – even wobbly hand-painted patterns have rustic charm!
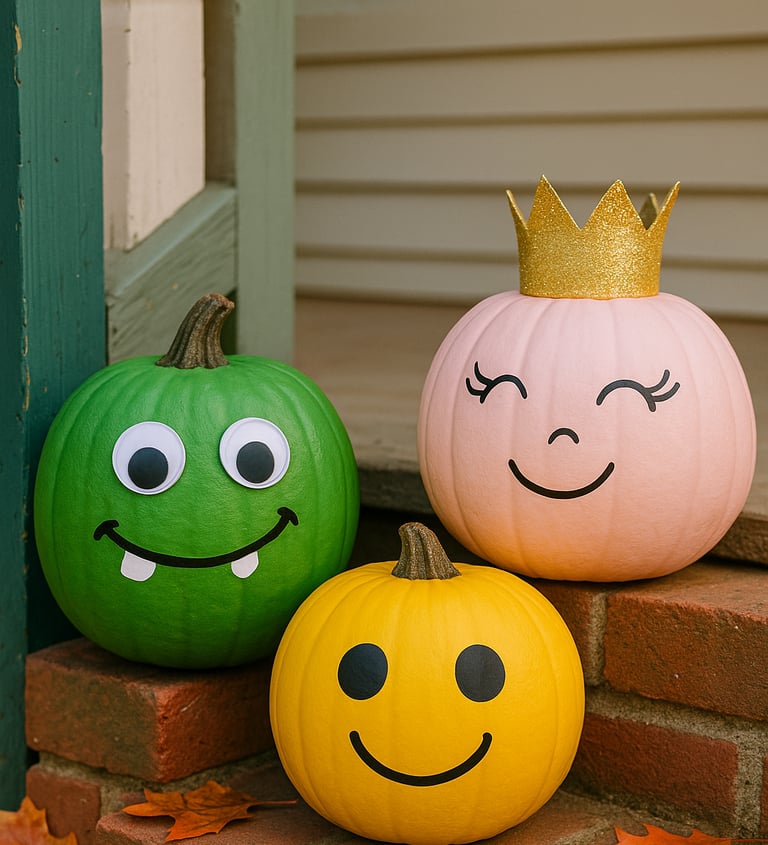
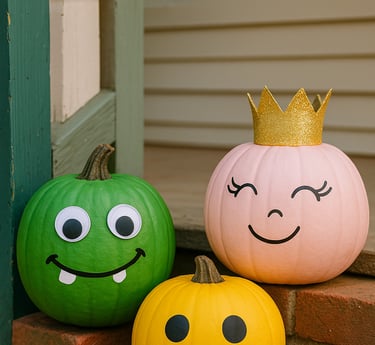
3. Funny Faces and Characters
Kids will jump at this idea – painting silly or spooky faces on pumpkins. It can be as simple as using black paint (or a Sharpie marker) to draw jack-o’-lantern style faces on brightly painted pumpkins. Or go wild and create cartoon characters: paint a pumpkin green and add googly eyes and a goofy grin for a monster, or an orange pumpkin with black stripes can become a tiger. Monster “family” pumpkins (each pumpkin as a different monster or emoji face) are a big hit with little ones. In fact, painting pumpkin faces is much safer for kids than carving, but still lets them express their Halloween creativity.
For a princess theme, paint pumpkins in pastel pink or blue and glue on craft jewels, glitter, or even a tiny tiara. Or make a unicorn pumpkin: white base, add a cone horn (craft foam or a twisted paper cone) and paint on sweet eyes and rosy cheeks. Families can also do storybook characters or superheroes – a bit of costume paint plus construction paper accessories can turn a pumpkin into anything. The key is to have fun and let everyone’s imagination shine. There’s really no wrong way – we’ve seen adorable painted pumpkin cats, Minions, and even a “pumpkin snowman” (stack three white painted pumpkins as a makeshift Olaf or snowman).
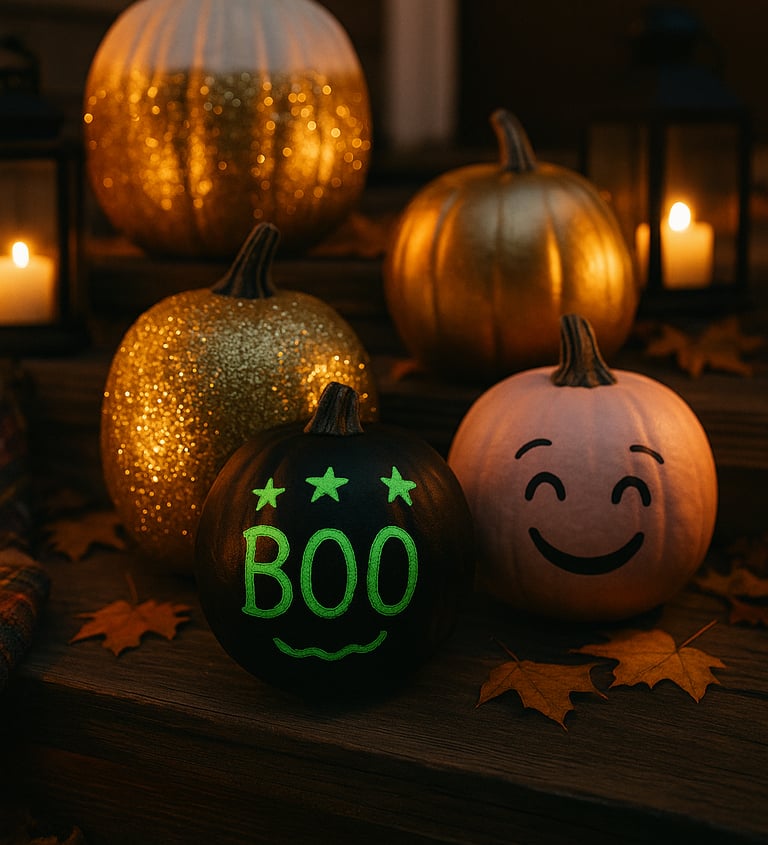
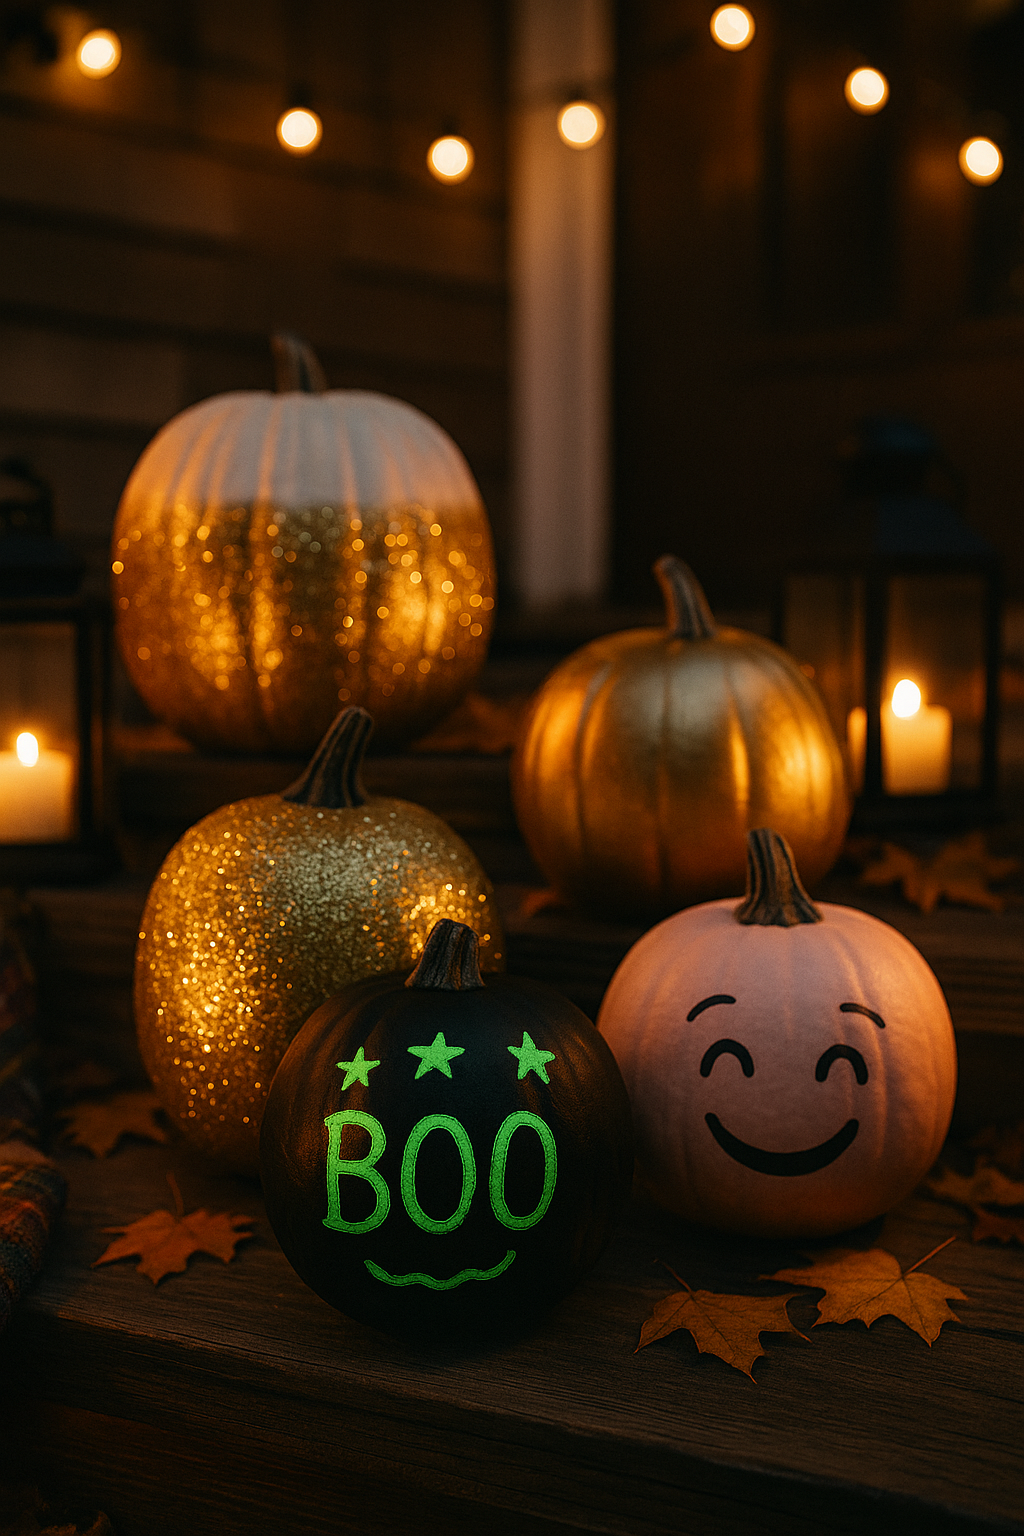
4. Glitter, Glam & Glow
If you’re feeling fancy, add some sparkle! Glitter painted pumpkins are an easy upgrade – paint the pumpkin in a solid color (like black or white), then while the paint is still tacky, sprinkle on glitter. Kids love this (warning: your floor may get extra sparkly). Or paint fun patterns with glitter: polka dots using glue and glitter, or paint the top half of a pumpkin and dip it in glitter for a “dipped” look. For minimal mess, you can also use glitter glue pens to draw designs.
Another glam idea: metallic pumpkins. Grab gold, copper, or silver acrylic paint (or use metallic spray paint outdoors) and cover the whole pumpkin for an elegant look. Metallics catch the light and look stunning mixed with natural pumpkins on a porch. You can even do half metallic, half matte for contrast, or polka dot metallic on a solid background (like white pumpkin with gold dots – classy!). Seal metallic painted pumpkins with clear spray if they’ll sit outside, to keep that shine longer.
For a spooky wow factor, try glow-in-the-dark paint. Paint your pumpkin a bright color, then use glow paint to add ghost shapes, stars, or the word “BOO.” The designs will charge in the daylight and then glow eerily at night – kids get a kick out of seeing their artwork light up. It’s a great trick-or-treat night porch idea without any candles or electricity.
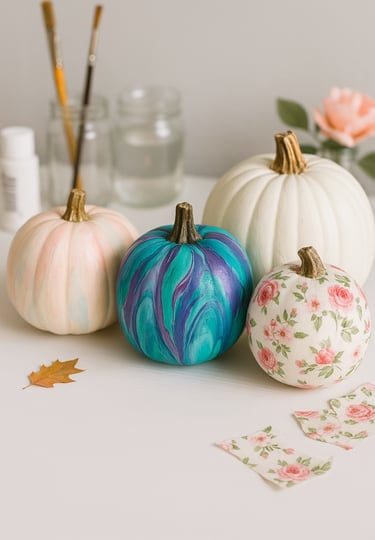
5. Artsy Techniques (Watercolor, Drip & Decoupage)
Feeling artsy? There are some cool techniques to experiment with (still beginner-friendly, promise!):
Watercolor Effect: Yes, you can use watercolor paints on a pumpkin – the trick is to start with a white-painted pumpkin as your base. Once that base (like white spray paint) is dry, lightly brush on watercolor paints; they’ll create soft, drippy blends of color. Tilt the pumpkin so colors run into each other. The result is a dreamy, tie-dye or watercolor pumpkin that looks Pinterest-perfect. Make sure to seal it afterward with Mod Podge or clear spray so the delicate watercolor doesn’t flake.
Paint Pour/Drip Art: Protect your workspace for this one – it’s a bit messy but so fun. Take a pumpkin (real or faux) that’s been painted a solid base color, and pour diluted paint or craft pouring paint over the top. Multiple colors will drip down in cool swirls. You can do this with spooky colors (black, neon green, purple for a monster vibe) or pretty combos like indigo, turquoise, and white for a marble look. Every pour-painted pumpkin comes out unique with gorgeous whirls and drips. Let it dry thoroughly (it may take overnight). The kids will be mesmerized watching the colors run!
Decoupage Pumpkin: Not into painting freehand? Try decoupage – essentially gluing decorative paper onto the pumpkin. You can print out motifs or use napkins, tissue paper, even pages from an old book or sheet music. Use Mod Podge (or white glue thinned with a bit of water). Brush a section of the pumpkin with glue, press on your paper cut-out (say, a leaf shape or a Halloween graphic), and smooth it out, then coat over it with more Mod Podge. Continue until the pumpkin is covered or decorated as you like. This technique is great for making stylish pumpkins with patterns that would be hard to hand-paint (florals, text, etc.). For example, one idea is decoupaging comic book pages for a superhero pumpkin, or vintage book pages for a literary décor vibe. It’s an easy way to get an impressive look – and you can still add painted accents or a coat of paint before/after to tie it together.

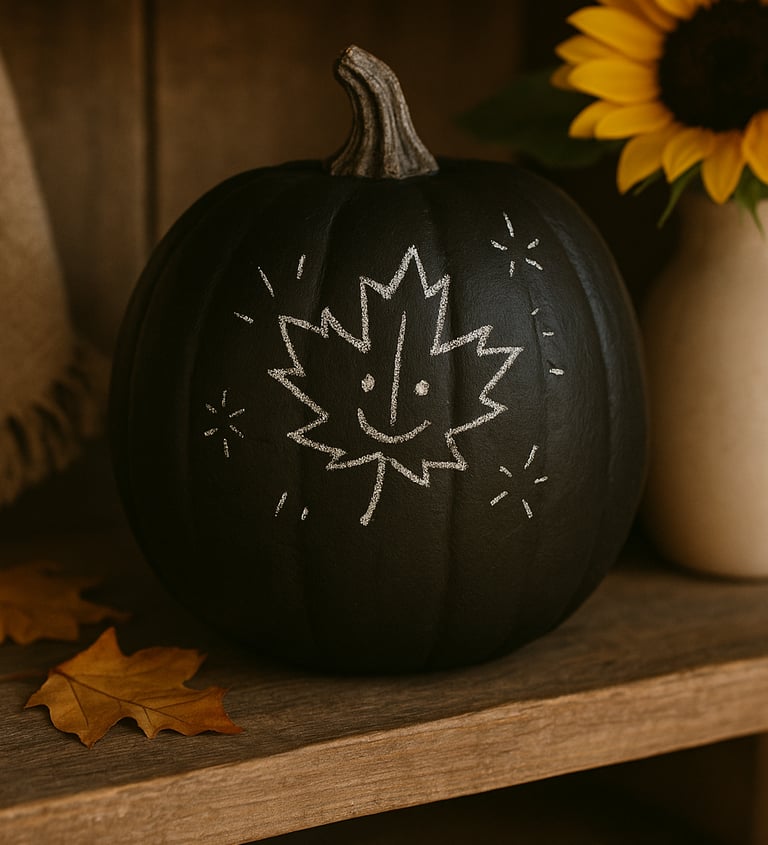
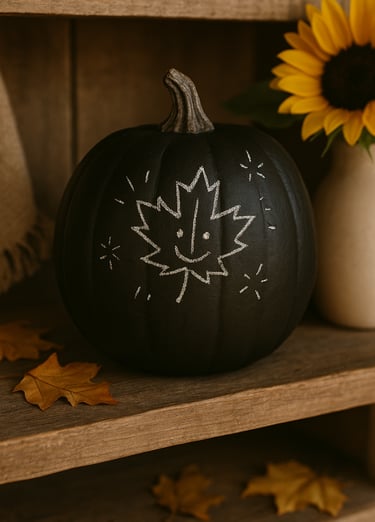
6. Chalkboard Message Pumpkin
Here’s a fun interactive idea: paint a pumpkin with chalkboard paint (yes, the kind that turns into a writable chalk surface). Once it’s dry, you’ve got a pumpkin message board! Kids can draw new faces on it every day, or you can write a welcome message for party guests. It’s also handy for a Thanksgiving centerpiece – write what you’re thankful for, or label it as a menu (“Pumpkin Pie ->” at the dessert table, perhaps). If you don’t have chalkboard paint, even a matte black craft paint can work; use chalk markers or white paint pen to write on it. This idea lets you change your design on a whim by erasing and drawing again. Use small pumpkins as place cards or label them for a pumpkin “word find” game for kids. The possibilities are endless and it adds a clever twist to your pumpkin lineup.
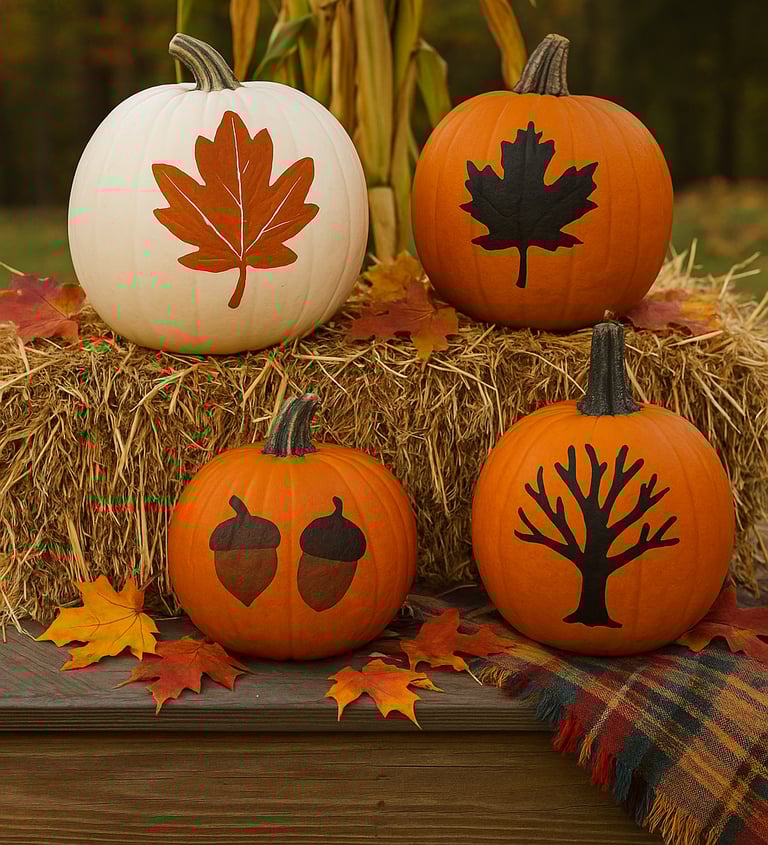
7. Nature-Inspired Designs
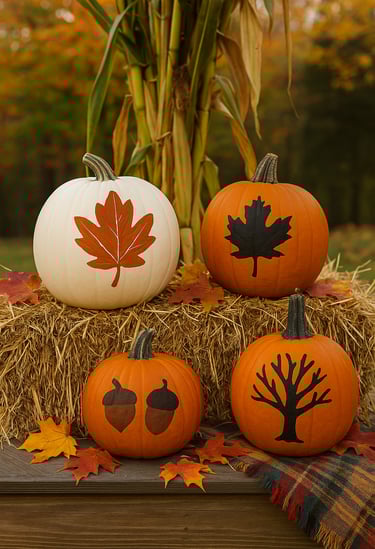
Bring the beauty of autumn onto your pumpkin. Leafy motifs are perfect for a fall feel – you can paint cute leaf shapes, acorns, or vines curling around your pumpkin. If freehand painting is daunting, use leaf stencils or even real leaves: paint a leaf with craft paint and press it onto the pumpkin like a stamp to leave an imprint. Another idea is to collect a few real leaves, trace them onto the pumpkin, and paint within the outlines for a pretty silhouette effect. Silver or white leaves on a naturally orange pumpkin look elegant. Or go for a silhouette scene: a bare black tree with flying crows, or a harvest moon and bats – whatever says autumn to you. These nature-inspired pumpkins fit in nicely as seasonal décor even beyond Halloween.
For a fun family project, try making a pumpkin patch scene across multiple pumpkins. One pumpkin can have a simple landscape (like a grassy hill), the next one a scarecrow or a truck hauling pumpkins – line them up and it tells a story (kids love coming up with what happens next!). This essentially creates a “series” where each pumpkin is one panel of a story. It’s a great group project – each family member paints one pumpkin in the story. When displayed together, you have a mini pumpkin storybook on your porch!
Finishing Touches and Display
Once your painted pumpkins are dry, consider how to show them off:
Protecting the Paint: As mentioned, a spray-on clear coat or brushing a layer of Mod Podge will seal the paint, deepen the colors, and add a bit of shine. This is especially useful for outdoor display or if you want the pumpkins to last several weeks. It’s not strictly required for indoor pumpkins, but sealed ones will have a nice finished look.
Display Ideas: Create a charming pumpkin display on your porch or table. You can mix painted pumpkins with plain ones, or even with carved ones if you still do a couple of those. Try stacking a few pumpkins of different sizes, or nestle them in fall foliage garlands. Painted pumpkins also look cute on cake stands or crates to vary the height. Because there’s no open flame involved, you can even use painted pumpkins as indoor décor on a mantel or kids’ playroom (let them have their own “pumpkin gallery” in their room!). And remember, painted pumpkins make great decorations not just for Halloween but into November – a grouping of autumn-themed painted pumpkins can spruce up your Thanksgiving table.
Keep It Fresh: If your real painted pumpkins will sit out for a while, keep them in a cool, dry spot (not in hot sun all day) to prevent early spoilage. Many families report enjoying their painted creations from October all the way to Thanksgiving since there are no cut holes – one of the perks we mentioned about painted vs carved longevity. If any pumpkin does start to get soft, retire it and celebrate the good run it had.
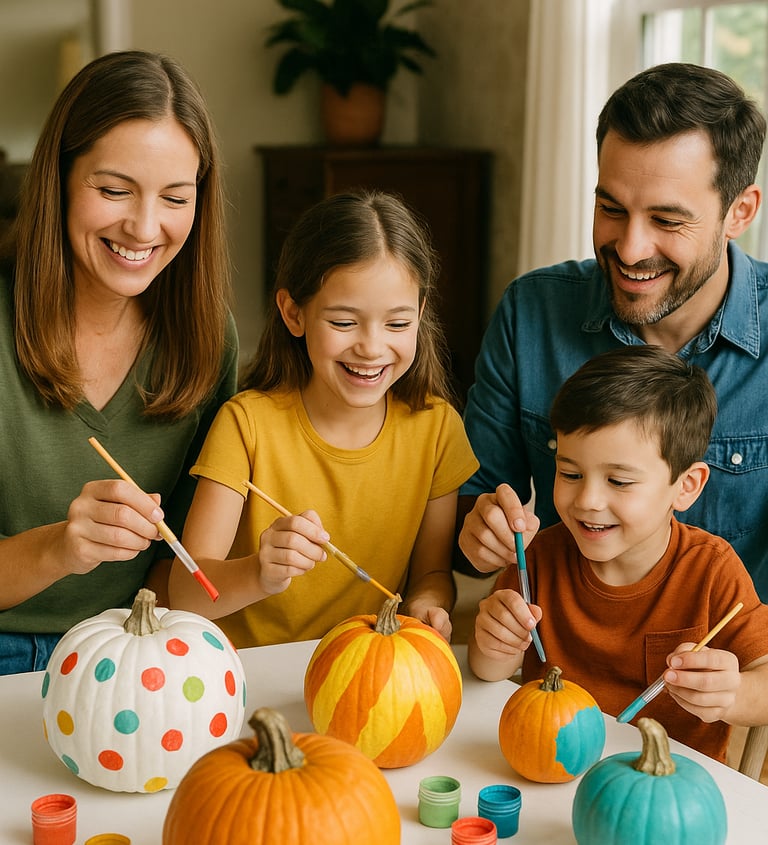
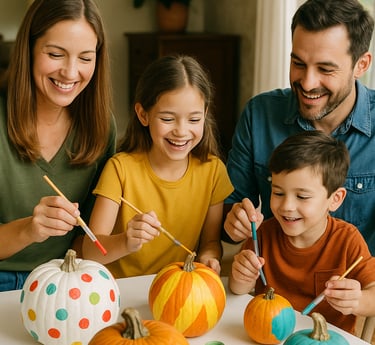
Finally, involve the whole family in this tradition. Turn on some Halloween tunes or a kids’ audiobook, lay out the paints, and enjoy an afternoon of creative fun. There’s no right or wrong way – the goal is making memories (and maybe a bit of a mess). Painted pumpkins often become real conversation starters on your doorstep – neighbors will ask where you got the idea, giving your kiddos a proud moment to say “I made that!”.
Happy painting, and may your pumpkins bring colorful joy to your fall!
FAQ: Painting Pumpkins
Q1: What kind of paint works best for pumpkins?
Acrylic craft paint is the go-to choice because it’s bright, durable, and quick-drying. Chalk paint works well for a matte farmhouse look, and glow-in-the-dark or metallic paints are fun for accents. For kids, washable tempera paints can work too (just expect them to smudge more easily).
Q2: Do I need to prime my pumpkin before painting?
Not always! You can paint directly on a pumpkin. But if you want vibrant colors, especially lighter shades, a quick base coat of white paint or spray primer makes a big difference.
Q3: How do I make painted pumpkins last longer?
Keep them clean and dry before painting, then seal the finished design with a clear acrylic spray or Mod Podge. Store them in a cool, shaded spot — painted pumpkins can last several weeks, often until Thanksgiving.
Q4: Can kids safely paint pumpkins?
Absolutely! Painting is a much safer alternative to carving, especially for younger kids. Just set up a craft table with newspaper or a plastic cloth and let them use brushes, paint pens, or even stickers and glitter.
Q5: Can I use markers instead of paint?
Yes! Paint pens or permanent markers are perfect for details and are less messy than paintbrushes. They work great for drawing faces, lettering, or simple doodles.
Q6: What about faux pumpkins?
Foam or plastic pumpkins from craft stores are a great option if you want designs that last for years. They’re easier to paint (smooth surface) and can be stored with your seasonal décor for reuse.
Q7: Do I need to seal faux pumpkins too?
It’s optional. Faux pumpkins won’t rot, but sealing your design will keep colors bright and protect glitter or glued-on details from flaking.
Q8: How long should I let the paint dry?
Most acrylic paints dry in about 20–30 minutes. For layering or adding glitter, let the first coat dry completely before adding more. A hair dryer on the cool setting can speed things up if kids are impatient.