
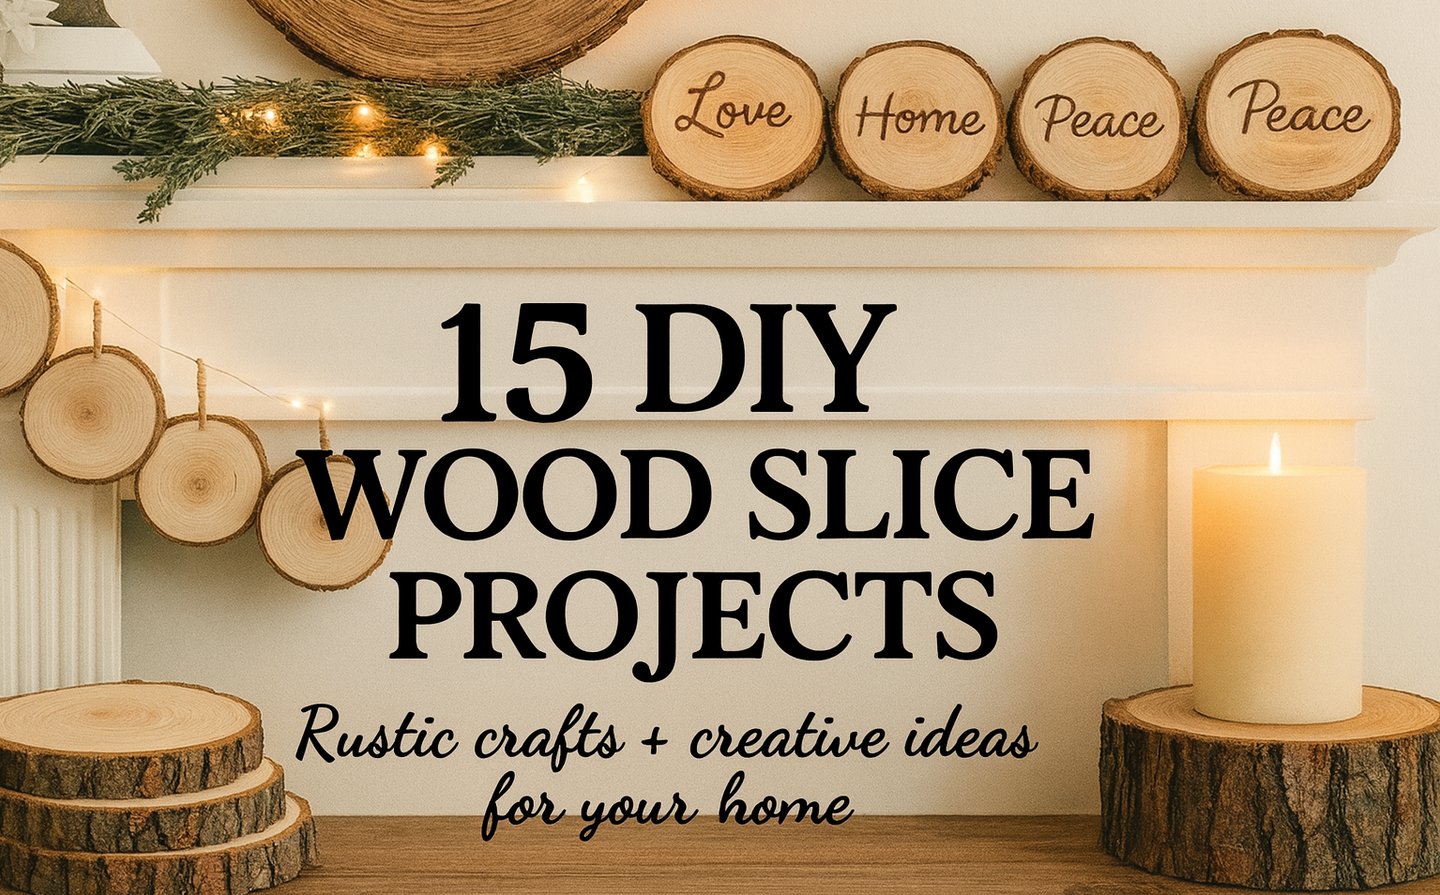
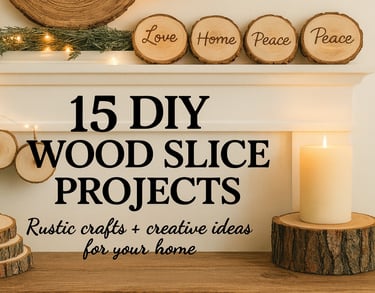
15 DIY Wood Slice Projects to Bring Warmth & Character Into Your Home
CRAFTS
The Soul Blogger
9/17/20256 min read
This website contains affiliate links. Some products are gifted by the brand to test. As an Amazon Associate, I earn from qualifying purchases. The content on this website was created with the help of AI.
15 DIY Wood Slice Projects to Bring Warmth & Character Into Your Home
Ever walked into a room and felt something was missing—but couldn’t put your finger on it? For me, that something is almost always texture. Raw edges, natural wood, little imperfections that tell a story. One weekend, I was browsing a craft shop and found a stack of wood slices—rings cut from tree trunks with bark still on—and I couldn’t stop thinking of all the cozy touches they could add around the house. If you, like me, love that warm, earthy energy, these 15 DIY wood slice projects are for you. Rustic but refined, simple tools, soul-infused results. Let’s get into it.


Hi! I’m Barbora, the voice and heart behind The Soul Blogger. I’m a creative spirit who finds joy in home projects, cozy spaces, soulful travel, and simple-yet-beautiful living. I started this blog as a personal outlet—a place to share my inspirations, explore fresh ideas, and connect with others who value both beauty and meaning in everyday life.
I live surrounded by the rhythms of family life and find peace in moments of creativity, whether I’m crafting a DIY project, styling a comforting corner of my home, or discovering a hidden café in a far-off city. Travel—especially journeys that blend culture, food, and stunning scenery—fuels my sense of wonder and storytelling.
This blog reflects my world—warm, intentional, and full of heart. Whether you’re here for a new recipe, a mindful lifestyle tip, or inspiration for your next adventure, I hope you leave feeling inspired to create a life that feels like home to you.
1.Handmade Wood Slice Coasters

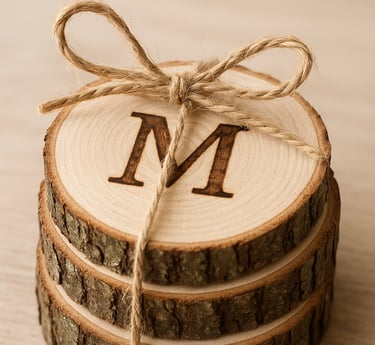
Sand both sides smooth, seal with matte varnish or food-safe finish, and optionally burn in initials or a small design with a Woodburning Kit. Perfect addition to your coffee table, or a thoughtful gift.
2.Wood Slice Photo Transfer Plaque
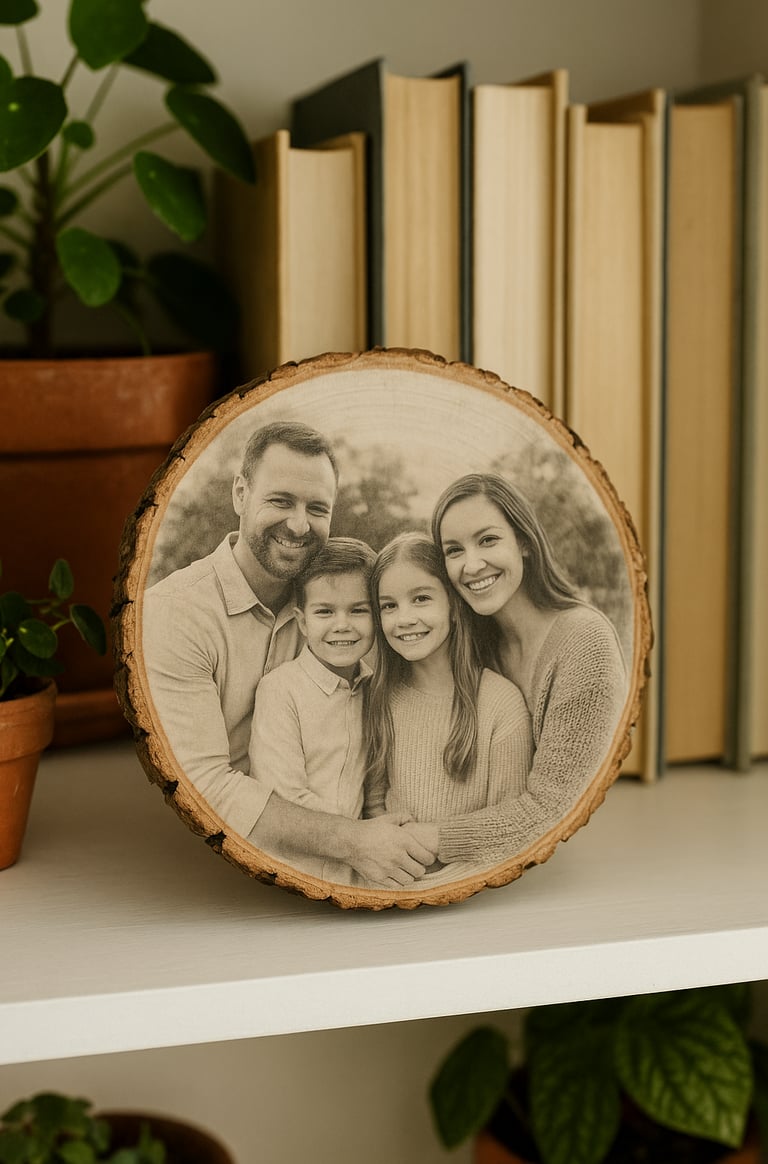
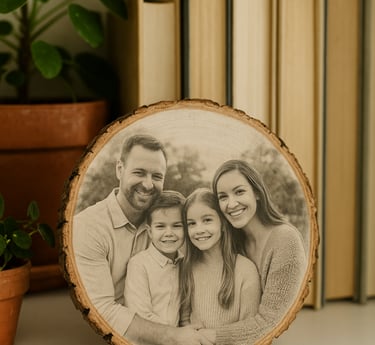
Use Mod Podge or similar: adhere photo, let dry, and gently rub off the paper. Seal to protect. Adds nostalgia and personality to your décor.
3.Rustic Cutlery or Napkin Holder
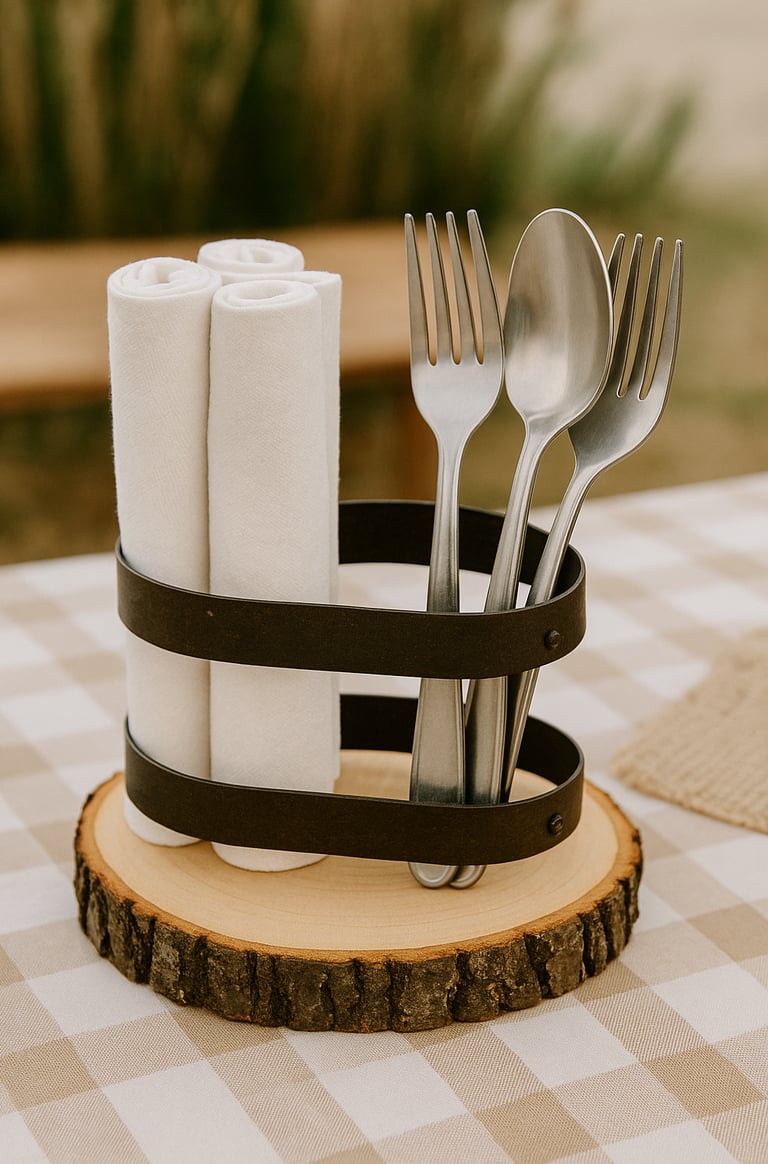
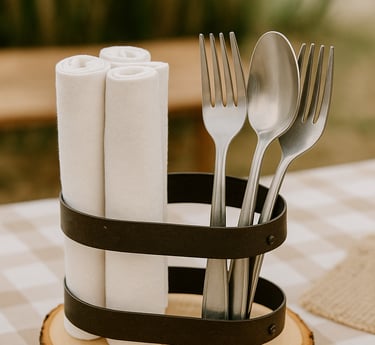
Slice thick, carve or attach small fences or bands to hold cutlery or napkins. Great for backyard lunches or casual dinners.
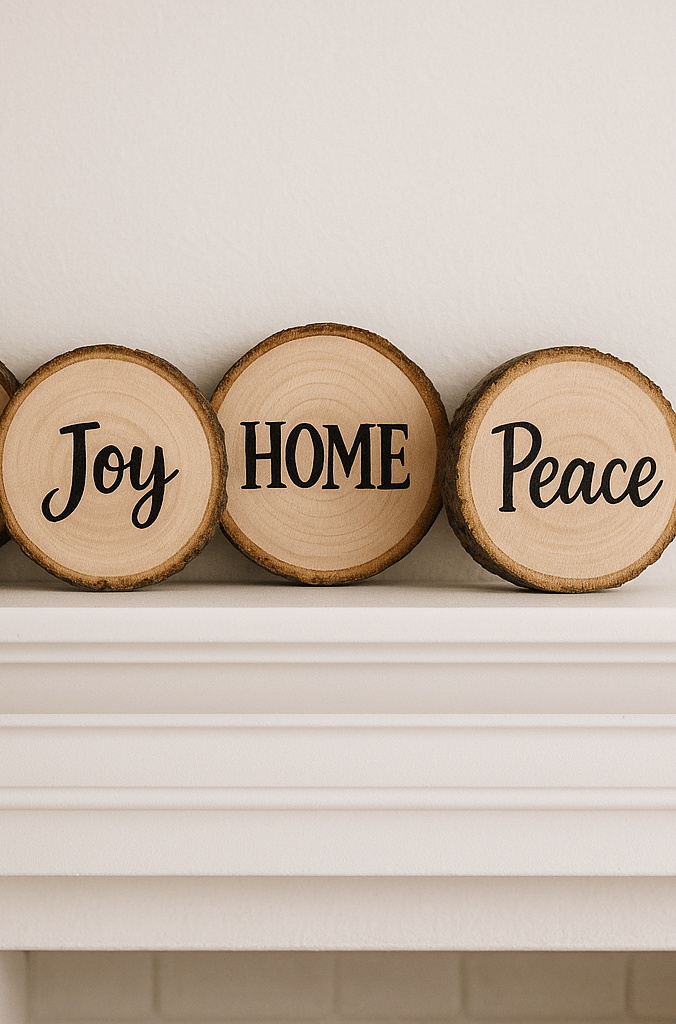
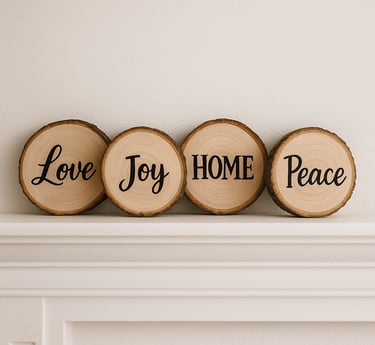
4. Wood Slice Wall Art Gallery
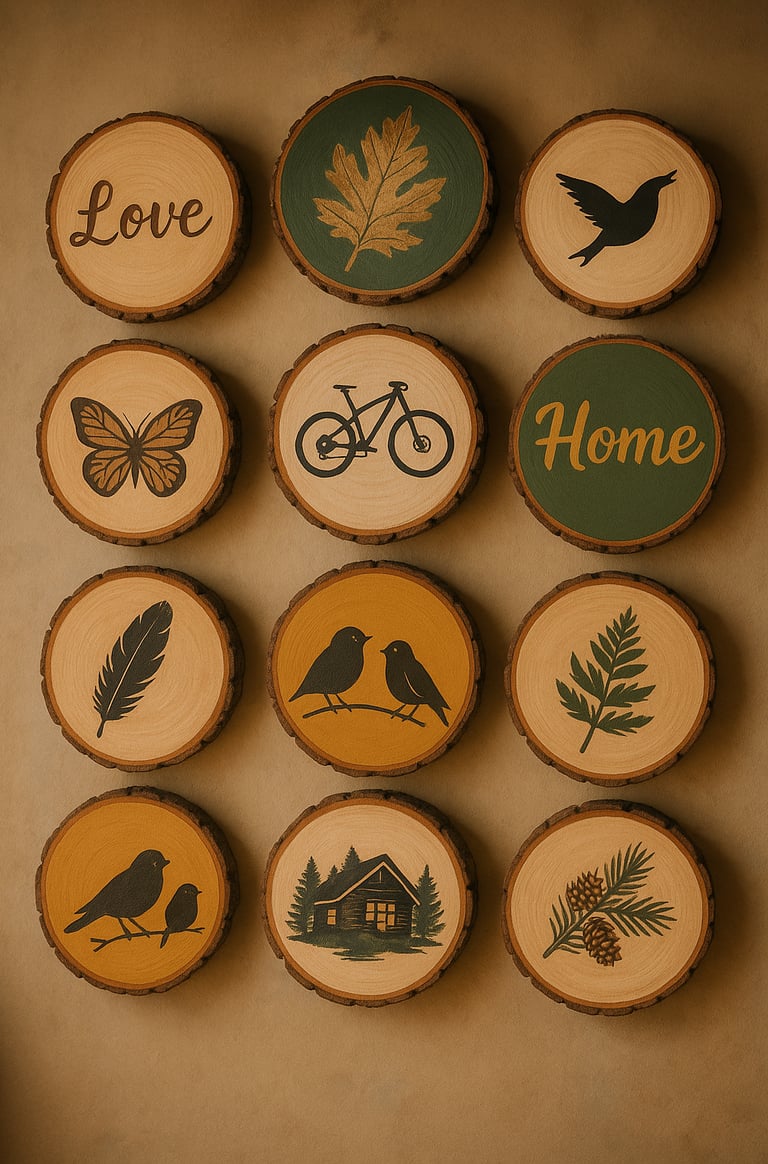
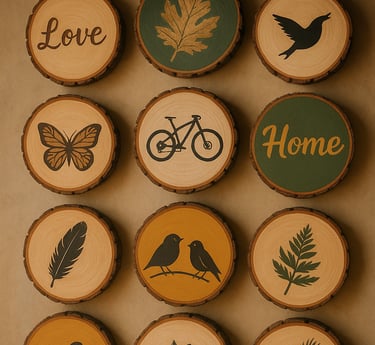
Mix painted, natural, and woodburned designs. Use picture hangers or adhesive hooks. A wall that feels lived-in, not showroomed.
5.Mini Wreaths or Holiday Ornaments

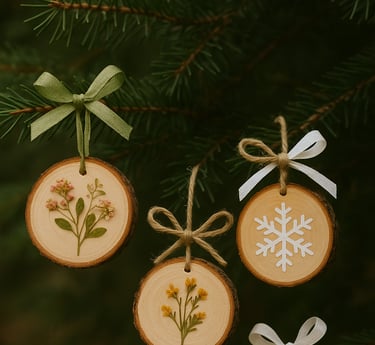
Drill small holes, add ribbon or twine. Decorate per season: spring florals, fall leaves, winter glitter or snowflakes.
6.Keychain & Drawer Pull Tags
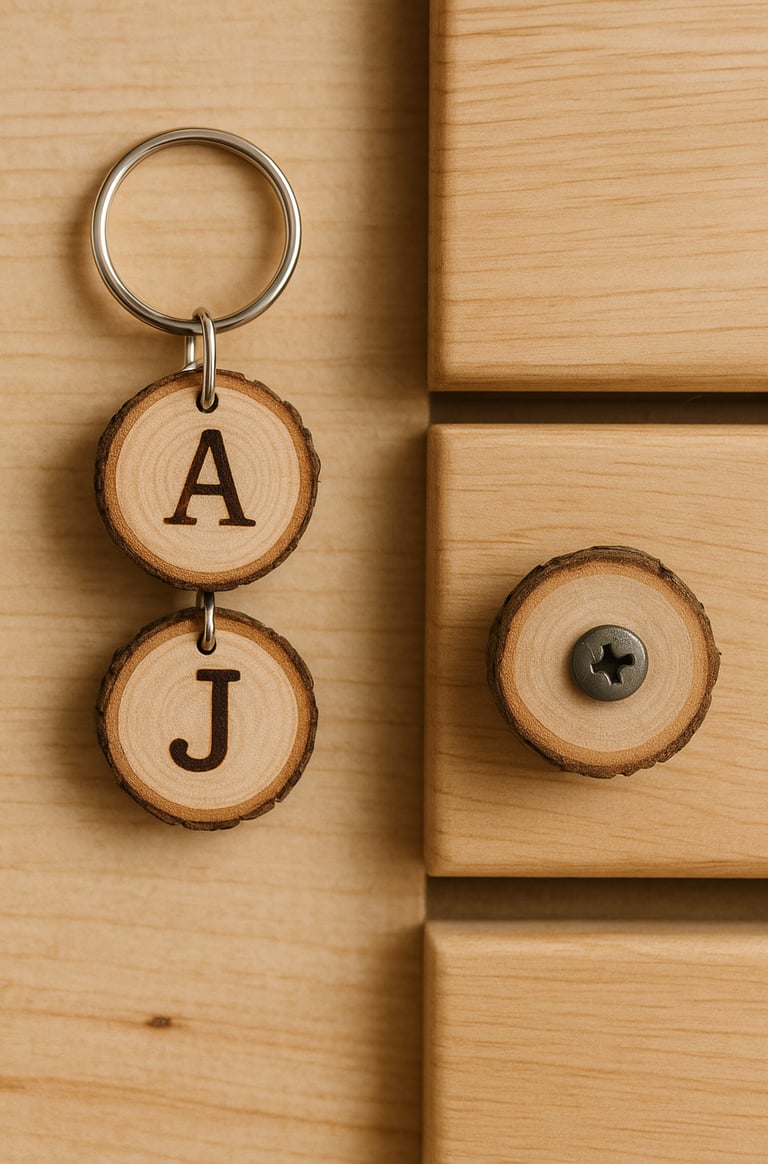
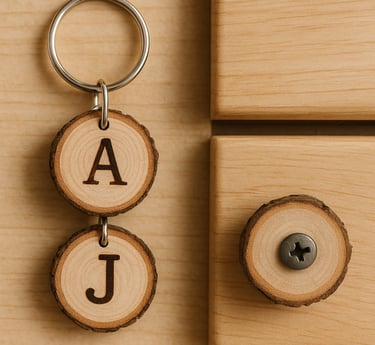
Great for organizing, gifting, or just adding charm to furniture.
7.Wood Slice Candle Risers or Bases
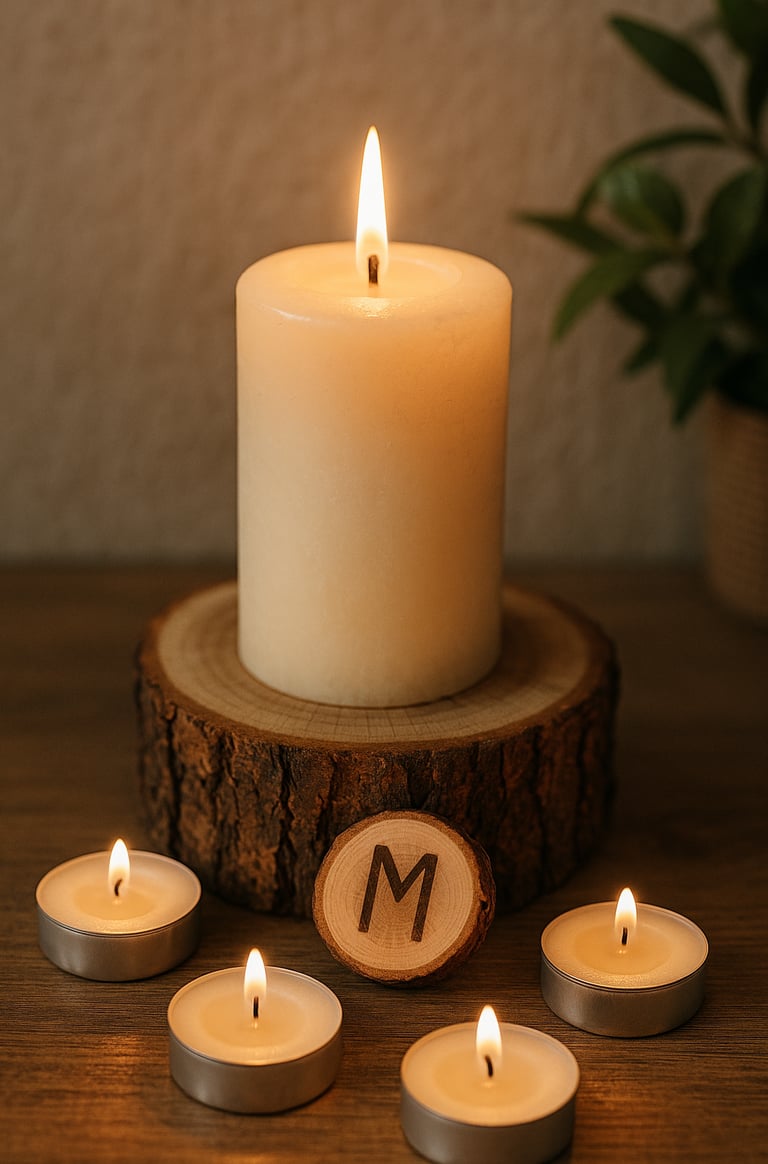
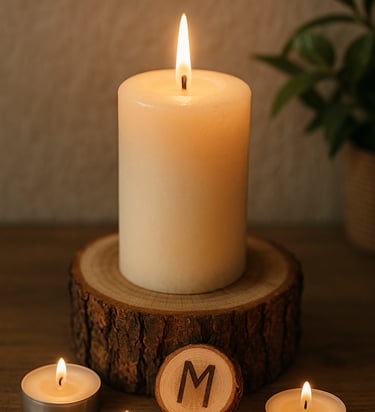
Use thicker slices; varnish to avoid wax damage. Brings warmth and layering to shelves or tabletops.
8.Wood Slice Clock
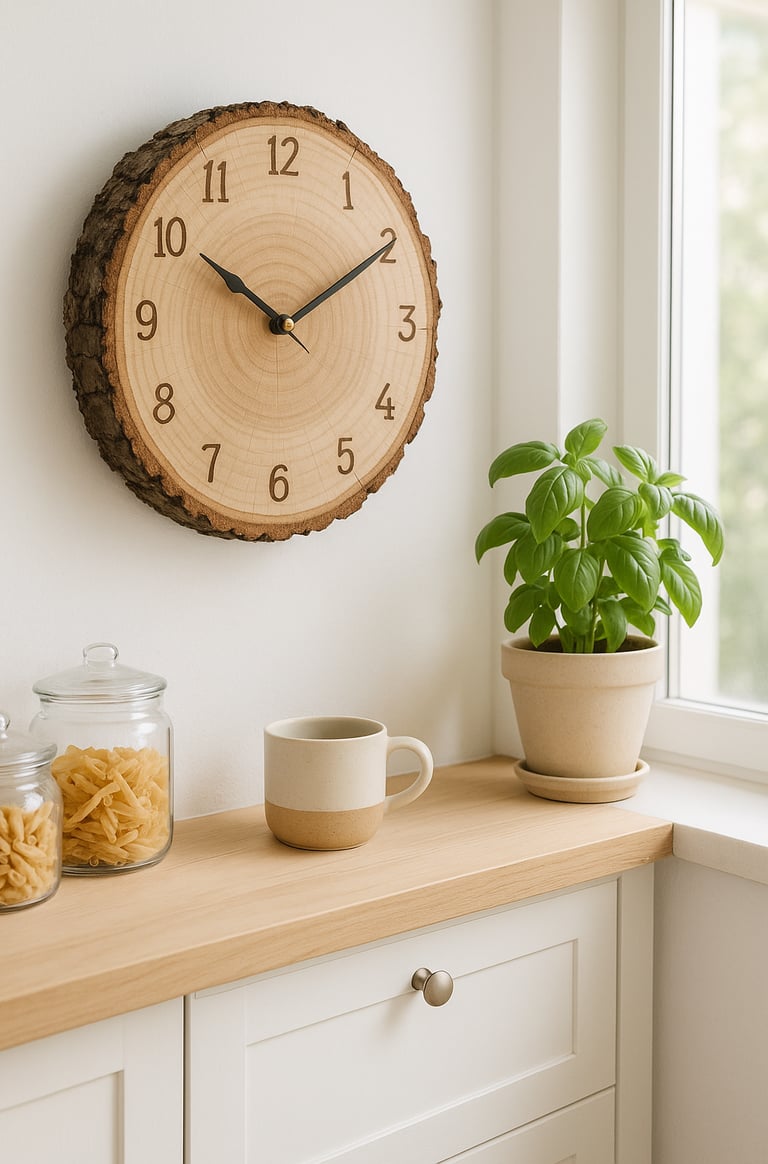
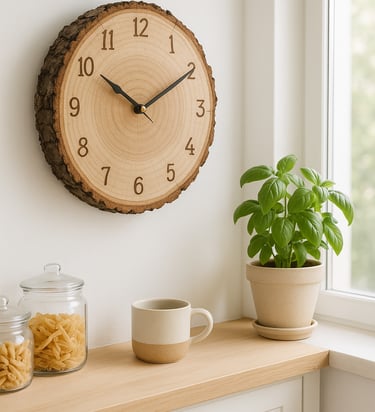
Drill center, attach hands, paint or woodburn simple markers. Function + beauty on your wall.
9.Rustic Planter Stand / Plant Pedestal
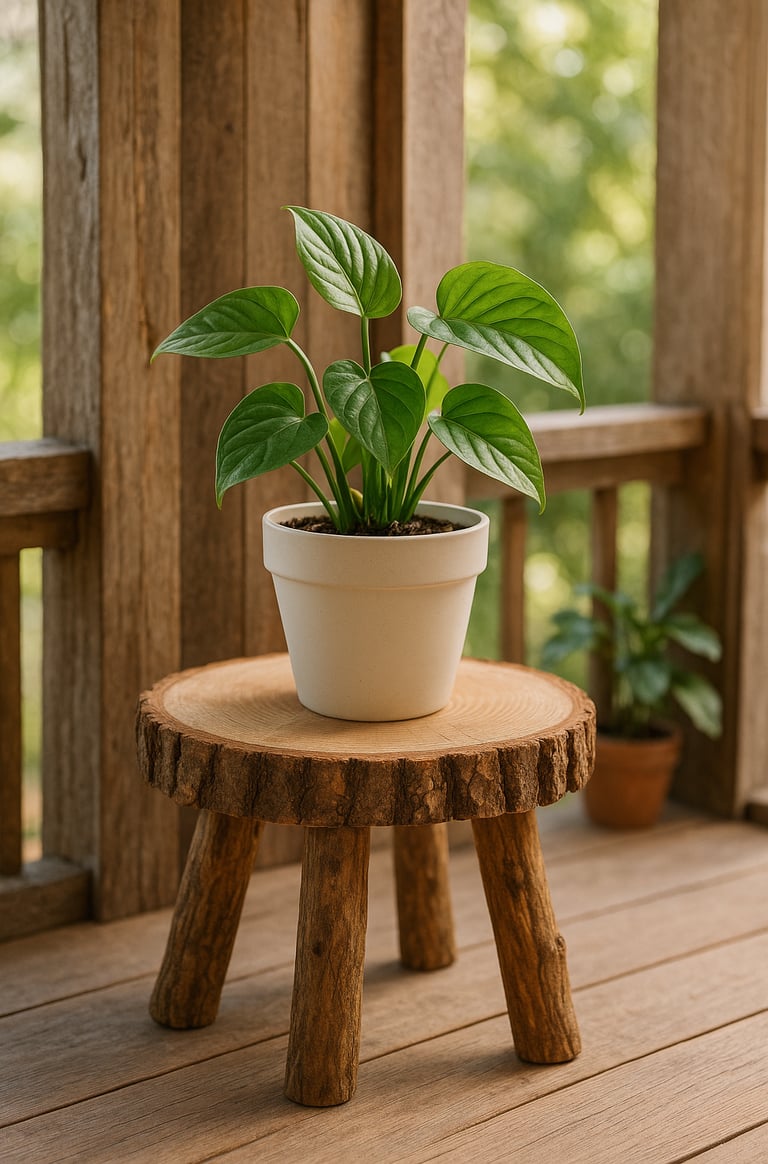
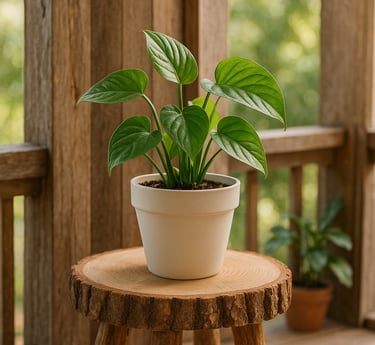
Elevate your greenery. Protect floor underneath. Adds height and natural contrast to indoor plants.
10.Gift Tags & Favor Tokens
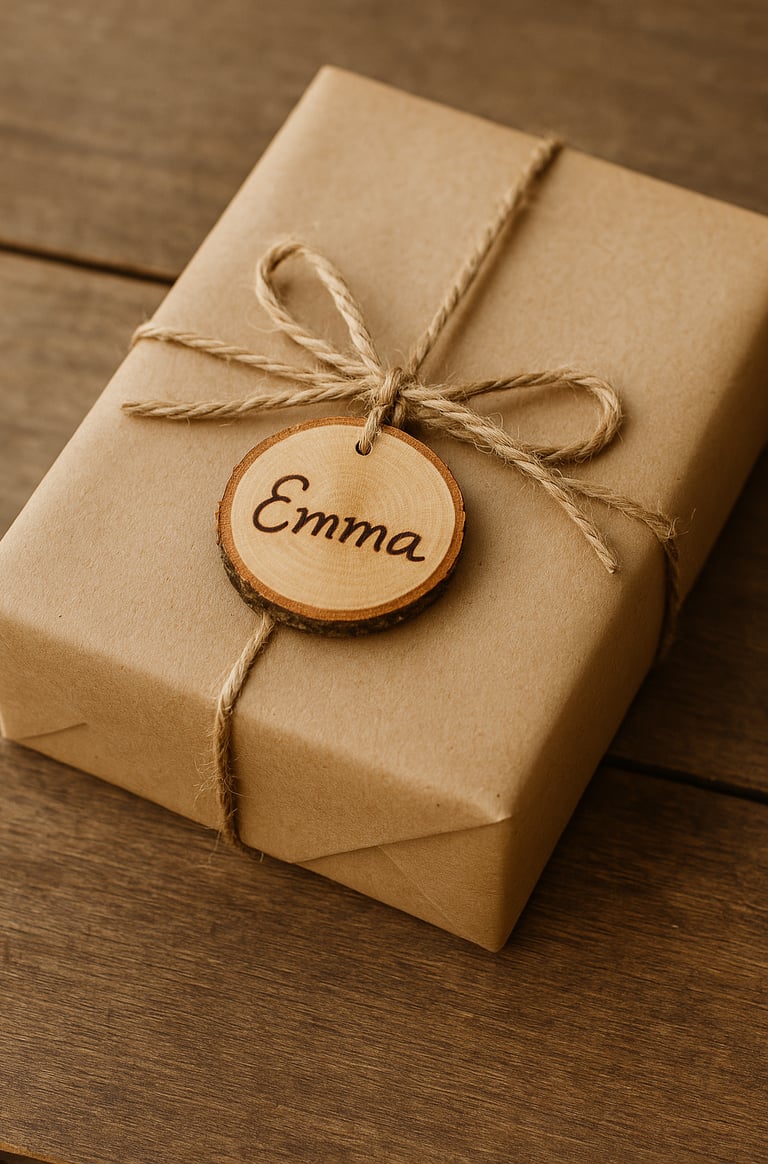

Seasonal, weddings, birthdays. Personal, yet minimal effort.
11.Wood Slice Candle Lanterns
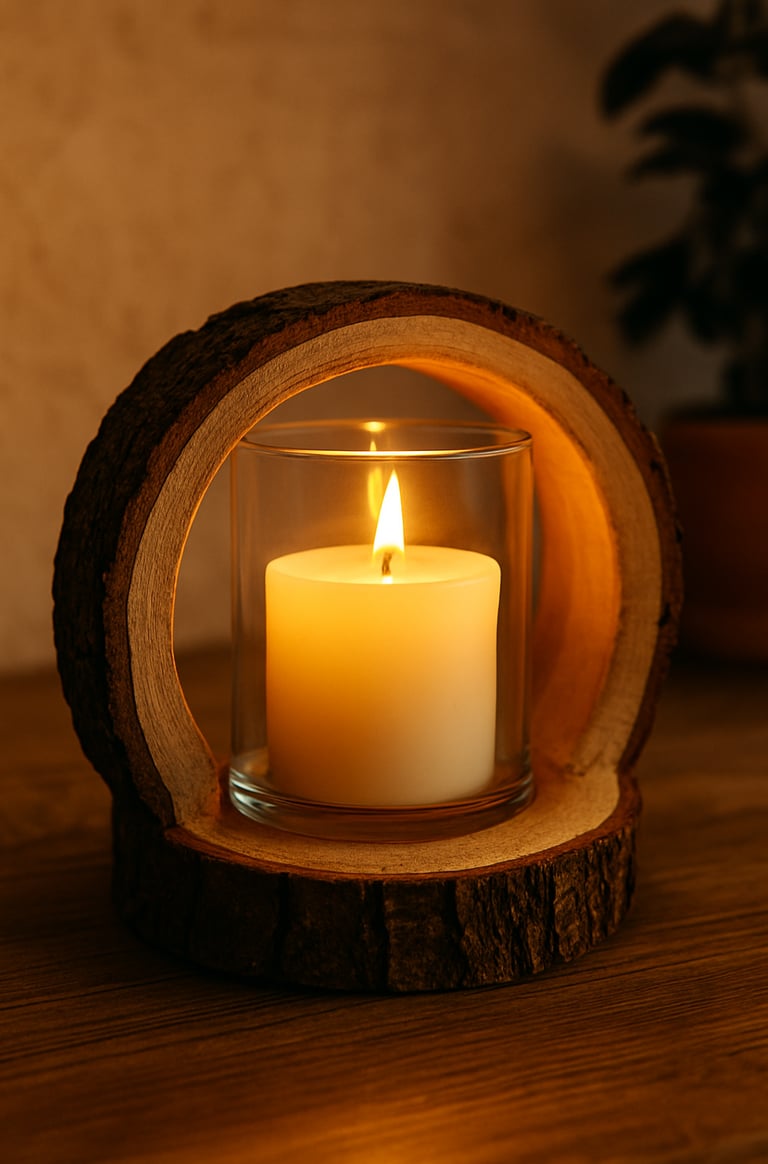
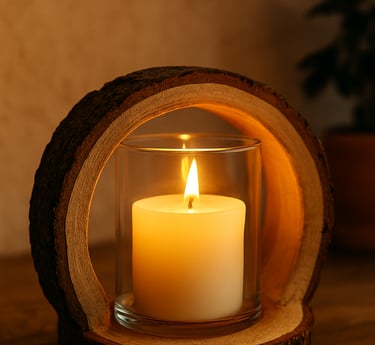
Surround glass votives with ring of slices, or carve hollow center in thick slice to set lantern glass. Lovely ambient lighting.
12.Rustic Serving Tray or Cheeseboard
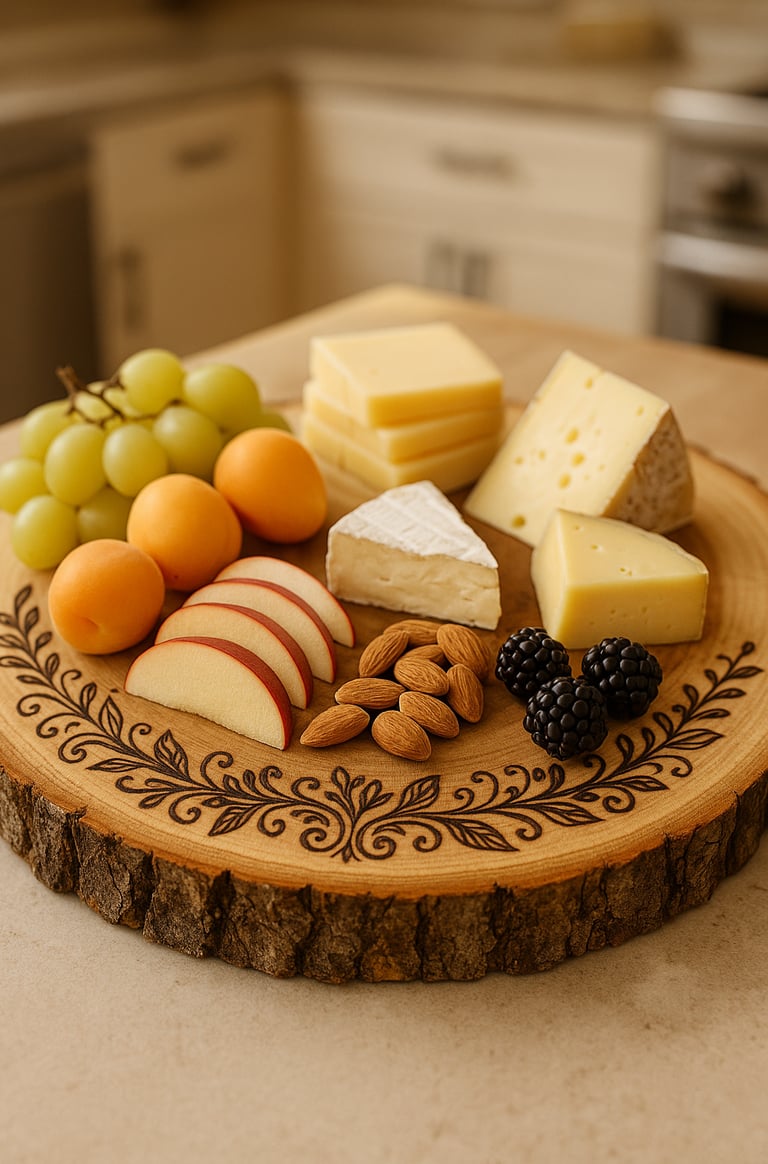
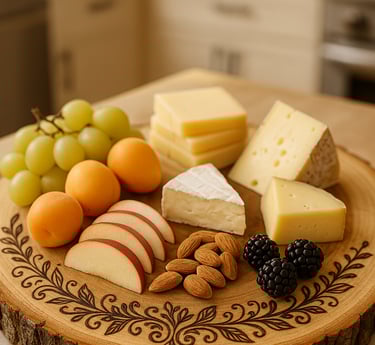
Seal with food-safe finish. Use as serving piece or decorative platter when not in use.
13.Wood Slice Garland or Bunting
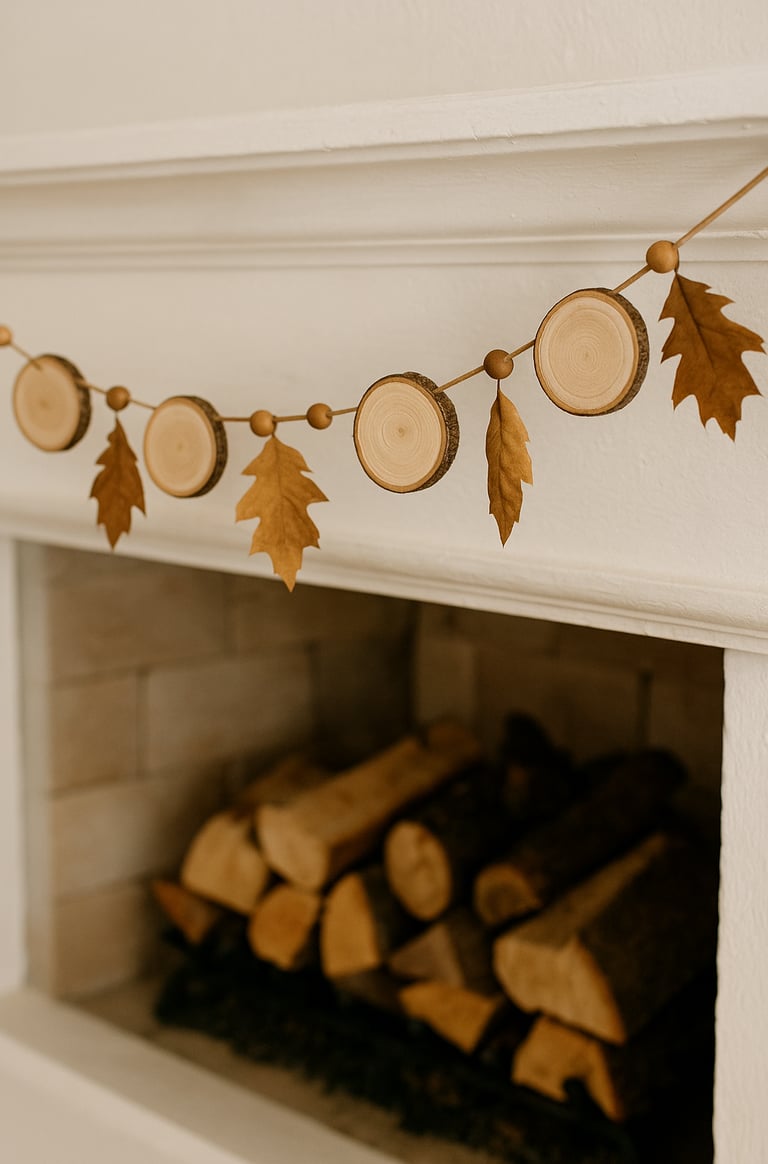
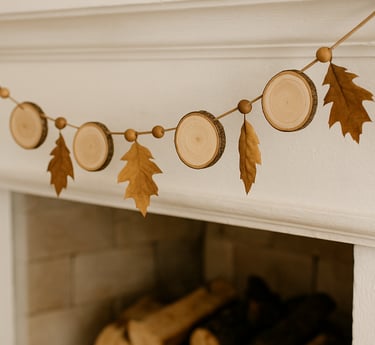
Drill holes, string them; mix sizes. Seasonal swap-outs make it versatile.
15.Shelf Inserts / Floating Shelves
Use thick, flat slices; mount brackets underneath. Adds rustic charm to functional shelving.
Tips & Tools First
Look for slices that are dry (no water, no moisture) to avoid cracking.
Sand edges to avoid splinters.
Use A Woodburning Kit for precise and intricate designs
Seal or varnish the surfaces – especially for food or candle uses.
Always drill safely; wear eye protection.
Embrace imperfections: knots, cracks, bark—those are what give character.
FAQ: DIY Wood Slice Projects
1. Where can I find wood slices for crafts?
You can buy pre-cut, dried wood slices at most craft stores, online marketplaces like Amazon or Etsy, or even cut your own from fallen branches if you have the right tools. Just make sure they’re fully dried before using them to prevent cracking.
2. Do I need to seal or finish wood slices?
Yes—especially if you plan to use them for coasters, trays, or food displays. A clear varnish or food-safe sealer protects the surface, prevents stains, and keeps the bark intact. For decorative pieces, a matte finish works beautifully.
3. Can I use fresh wood slices?
Freshly cut slices (often called “green wood”) will crack and warp as they dry. It’s best to let them air dry for several weeks, or bake them on low heat in the oven to speed up the process, before crafting.
4. What tools are needed to work with wood slices?
A good start includes sandpaper, a drill (for holes), wood glue, paint or wood-burning pens, and a clear sealant. Optional extras include Mod Podge for photo transfers and small clock mechanisms for making DIY clocks.
5. How do I stop bark from falling off wood slices?
Apply a strong clear wood glue or sealer to the edges of the bark. Be gentle when sanding near the bark area, and avoid excessive handling before sealing.
6. Can wood slice crafts be food-safe?
Yes, but only if you use a food-grade finish (like mineral oil or beeswax). Avoid harsh chemicals if the surface will touch food. For cheeseboards and serving trays, always check the label of your sealant first.
7. Are wood slice projects beginner-friendly?
Definitely! Most projects require only simple tools and can be completed in an afternoon. Start with coasters, ornaments, or candle bases—they’re quick wins that boost confidence.
8. How long do DIY wood slice projects last?
With proper sealing and care, they can last for years. Keep them away from excessive moisture and sunlight, and refresh the finish occasionally to maintain their rustic charm.
My Woody Thoughts
There’s something deeply satisfying about making something with your own hands, especially when the result doesn’t just look warm, but feels it—natural, imperfect, comforting. These wood slice DIYs are more than decor; they’re little stories in wood, texture, and time. Whether you pick one project or try three this weekend, I hope you’ll find joy in the process (and maybe even surprise yourself with the result). When you’re done, I’d love to hear which one became your favorite—and what twist you added to make it uniquely yours.